

Using Item Batch Numbers in ERPNext
Guide
The Batch number feature is used to group a set of items in a single tracking number. This is useful in setting expiry dates or whatever purpose. The batch number is mentioned in every stock transaction and may be assigned manually or automatically.
An Item must be set as “Hast Batch No” for you to be able to assign a batch number to it. This can be updated on Item Master.
A. Creating Batch Number
Go to Stock. Under Serial No and Batch, click Batch.
Click on “Create New Batch”.
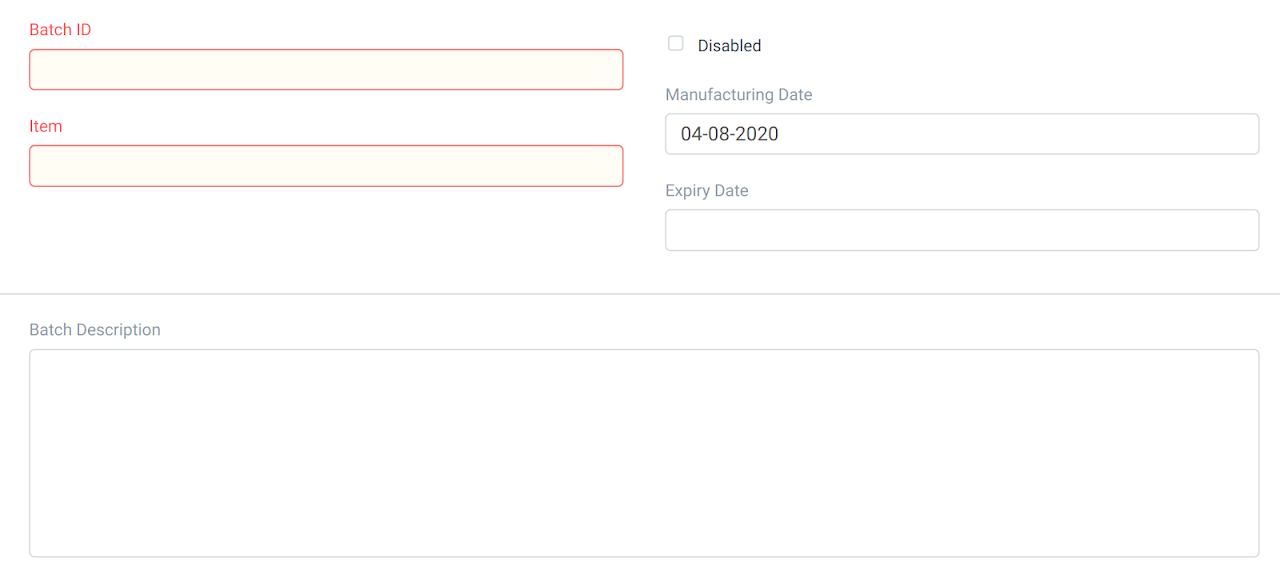
Supply necessary information needed.
Batch ID (mandatory)
Item (mandatory)
Manufacturing Date (optional)
Expiration Date (optional)
4. Click Save to apply the changes.
Note: If you want to automatically create a Batch number for an item, you must tick 'Automatically Create New Batch' in the Item master.

B. Transacting Items with Batch Number
Create a Purchase Receipt.
Edit the item details. Select the Batch number created to be assigned to the items that will be received.

3. Click Save and Submit to finalize.
4. Viewing the Stock Ledger, you will see that the batch number has been tagged with the quantity received.
